


Elizabeth Zimmerman Blanket

This is a closeup of the corner:
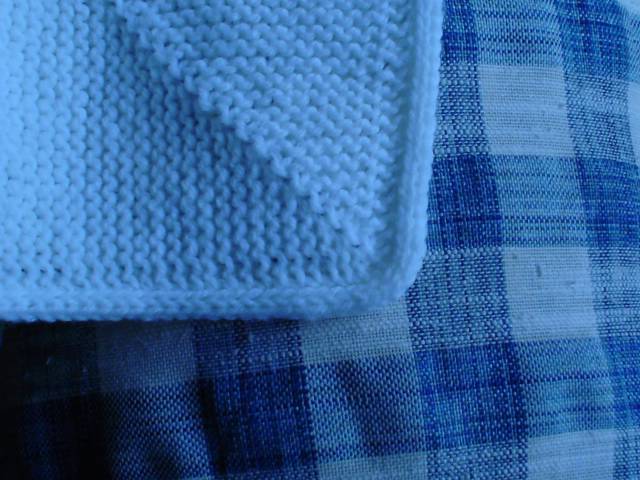
Pattern: based on a blanket described in Elizabeth Zimmerman's Knitting Workshop series.
Yarn: From St. Louis Knitting Guild donated yarn table: "Quick Knit Sport",
This blanked was donated back to the guild for Project Linus.
How I made this blanket:
1. The total weight of yarn was 251g. I knit a swatch, with a size 5 needle, which was 2.5" x 5" or 12.5 square inches. It weighed 5 grams. I divided 251 by 5 and multiplied by 12.5 to find that the entire blanket could be 627 square inches. I rounded down to 600 and took the square root to find the length of the sides, which was 24.5. I again rounded down to 24" just to be safe. I couldn't get any more of this yarn, and I didn't want to run out, and I didn't know how much the border would take. My swatch gave 5.5 stitches per inch, so one side of the blanket would be 132 stitches. Half of that is 66, and this is what I cast on.
2. I cast on using a provisional (crochet) cast on. Then I knit across all of the stitches and back once. On the next row I knit 65 stitches, wrapped, turned, and knitted back the 65 stitches. On the next row I knit 64 stitches, and so on, until I had one stitch left not wrapped. At this point, the blanket is a right triangle, with the needle holding the stitches along the longest side.
3. Reverse the directions to make the other half of the square: on the first row, knit one, wrap, turn, and knit one stitch back. On the second row, knit two, wrap, turn and knit two back. Continue, knitting one more stitch on each row until the first square of the blanket is complete. (Note: since this is garter stitch, it is not necessary to knit the wraps with the stitches as you come to them, as is usually done when performing short rows.)
4. Continue, repeating this square three more times to form one larger square. When you are ready to complete the last row, look at your cast on row (pull it out if necessary to see better) and knit either one row or two to make sure a knit row is against a purl row. Remove the cast on and graft the first and last rows together.
5. To do the i-cord edging: using a smaller double-pointed needle than you used to make the blanket, pick up* one stitch for each garter ridge along one section of the side of the blanket. On another dpn, of the same size you used to knit the blanket, cast on four stitches. Knit the stitches in the order you cast them on, knitting the last one with one of the blanket edge stitches. Continue, knitting the i-cord, and including one blanket stitch with the last stitch of the cord, picking up more edge stitches as necessary, until you reach the end of the side. Knit two rows without including a stitch from the blanket, knit one row including a stitch from the corner, knit one row plain, and continue along the next edge. If this does not yeild a flat corner, either add or remove plain rows to make it line up correctly. Continue around all four sides. When the beginning of the cord is reached, remove the cast on and graft the beginning and end together. Weave in the ends, block, and you're done!
* I really sincerely mean to "pick up", not "pick up and knit". Just put the needle through the loops at the end of the row; no extra yarn is involved in this.
posted by Beth @ 11:15 AM
![]()
![]()
5 Comments:
Hi. Thanks for your description of how to knit this blanket. I'm having some trouble with it. After knitting the first triangle, are you knitting the live stitches along the long edge of the triangle that you've previously wrapped? And if so, why do you wrap again when you knit them back? Hope you can help! Thanks. Sally
Sally,
I knit this blanket many years ago, and I don't remember many details of how I did it. Your best bet is to find the Elizabeth Zimmerman book (probably Knitting Around, I think) and see what she says.
I think the stitches are wrapped again because they need to be anchored from both sides, as the rows increase, and as they decrease.
Oops! Just realized that I mentioned "Knitting Workshop" in the post. That's where you'll find EZ's directions.
Beth, Thanks very much. I have the Zimmerman book, but she doesn't mention wrapping the stitches in either case. She just says don't knit the last stitch. But then she says to slip the first stitch in every row (presumably even the rows that won't form an edge). I find the directions confusing. I guess it's a matter of experimentation on a smaller item (not a blanket), to see what looks good, as there may be a number of ways to do this! I appreciate your advise very much. Sally
Just wanted to update you on my attempt at this great blanket. I knit the second triangle (picking up stitichs) first without wrapping. Since I am using a bulky yarn, this left large and very elastic eyelets. It didn't work well. So I tore that out and redid it wrapping the last stitch when it came time to pick up a new stitch. Before turning the work, I moved the yarn forward, slipped the next stitch, slipped it back, turned the work, then knit back to the edge. I didn't work the slipped stitch until I went back. This pulled in the slipped and wrapped stitch, making the join stronger and the 'seam' much more attractive. Thanks for the tip! Sally
Post a Comment
<< Home